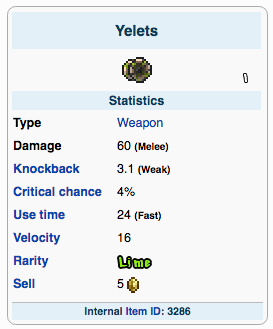
The Yelets is a powerful Hardmode yoyo. After a Mechanical Boss has been defeated, this yoyo has a 0.5% (1/200) chance to drop from any enemy killed in the Jungle and Underground Jungle.
Its best Modifier is Godly.

The Yelets is a powerful Hardmode yoyo. After a Mechanical Boss has been defeated, this yoyo has a 0.5% (1/200) chance to drop from any enemy killed in the Jungle and Underground Jungle.
Its best Modifier is Godly.
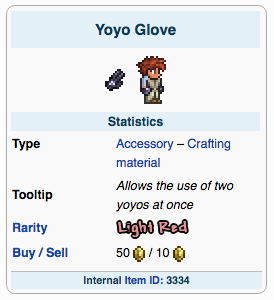
The Yoyo Glove is a Hardmode accessory that aids Yoyo attacks. When equipped, and when the player is using a Yoyo to attack an enemy, a duplicate of the Yoyo being used will spawn and orbit around the primary Yoyo projectile. A duplicate Yoyo will only appear after hitting an enemy at least once. The Yoyo Glove can be purchased from the Skeleton Merchant in Hardmode.
If a Counterweight is also equipped, the Yoyo Glove will also cause a duplicate Counterweight to spawn during attacks, for a total of four projectiles (2 Yoyos + 2 Counterweights).
When a Yoyo Glove and Counterweight are both equipped::
The Yoyo Bag offers this same functionality from a single accessory along with increased range.

The Yoyo Bag is a Hardmode accessory which allows the holder to use two yoyos, similar to the Yoyo Glove along with two Counterweights and also increases the yoyo’s range.

The Xenopopper is a Hardmode, post-Golem gun that uses bullets as ammunition, but fires a small initial cloud of four to five simultaneous “bubbles”. The bubbles themselves do no damage and will bounce off solid blocks. They then pop after a short delay, firing bullets (one per bubble) that converge at the cursor’s location. The targeting effect is similar to that of the Lunar Flare. Each firing consumes only one bullet, but produces 4-5 projectiles each.
The Xenopopper has a 11.11% (1/9) chance to be dropped by the Martian Saucer during the Martian Madness event.
Its best Modifier is Unreal.
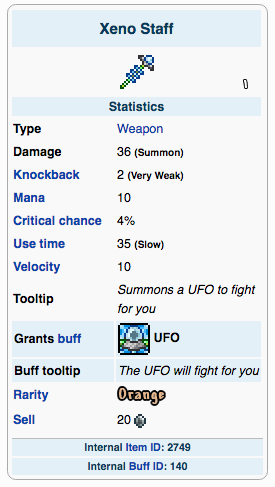
The Xeno Staff is a Hardmode summon weapon. It summons a UFO minion that teleports to nearby enemies and fires lasers at them. The UFO is capable of moving through blocks. It is dropped by the Martian Saucer during the Martian Madness event.
Its best Modifier is Ruthless. The Mythical modifier provides the widest array of stats bonuses, but these primarily affect the initial summon rather than the resulting minion. Additionally, Minions cannot deal critical hits. The only significant advantage a Mythical Xeno Staff has over a Ruthless one is knockback.
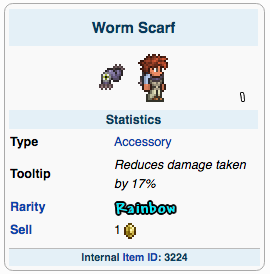
The Worm Scarf is an Expert Mode accessory that reduces incoming damage by 17%. The Worm Scarf is always obtained from the Eater of Worlds’ Treasure Bag.
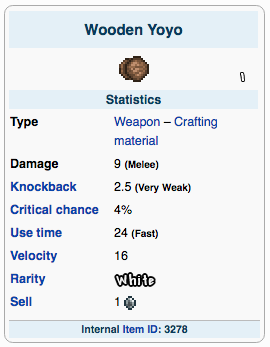
The Wooden Yoyo is an early-game yoyo, and generally the first available to the player. It is the weakest of all yoyos. It remains deployed for about four seconds before returning automatically to the player.
Its best Modifier is Godly.

The Wand of Sparking is an early game magic weapon found in surface Chests. It fires a piercing spark along a parabolic curve, traveling about 16 blocks before dissipating. The spark has a slim chance to inflict the On Fire! debuff. The sparks deal no knockback.
Its best Modifier is Demonic.

Vortex armor is an end-game Hardmode armor set that provides ranged weapon boosts. It is currently the best ranged armor set available on the Desktop version. Crafting the full set requires a total of 36 Luminite Bars (144 Luminite) and 45 Vortex Fragments.
In total, Vortex armor pieces apply the following boosts:
Additionally, equipping a full set grants the player the ability to toggle stealth mode, which has the following effects:
Unlike Shroomite armor, standing still is not required. The Vortex armor’s stealth mode is instead toggled manually by double-tapping the▼ Down key. Moving or grappling does not cancel the effect, and its boosts are applied to all ranged weapon types (unlike Shroomite armor, which requires switching headpieces for different ranged weapon types). Dashing or riding a Mount does cancel stealth mode.

The Valor is a yoyo that can extend up to 20 blocks away from the player. Its flight time lasts 15 seconds before returning to the player. The Valor can be found in the locked Gold Chests found in the Dungeon, but it is not guaranteed that every Dungeon will contain one.
Its best Modifier is Godly.
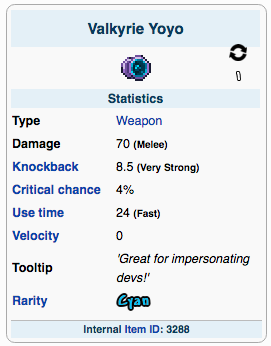
The Valkyrie Yoyo is a Hardmode, Expert Mode exclusive yoyo. It is obtainable from Hardmode bosses Treasure Bag as part of Lazure’s equipment set. Like some other yoyos, the Valkyrie Yoyo can be held in the air indefinitely.
Its best Modifier is Godly.

The Toxic Flask is a Hardmode, post-Plantera magic weapon that has a 2.5% / 3.75% (1/40 / 3/80) chance to be dropped by Dr. ManFly during the Solar Eclipse event. It throws a flask with low velocity and a heavy arc that explodes on impact and creates a spread of small toxic clouds that constantly damage enemies, even through blocks. The clouds last for one to two seconds.
Its best Modifier is Mythical.

The Bee’s Knees is a bow that has a 33% / 66% (1/3 / 2/3) chance of being dropped by Queen Bee. When fired using wooden arrows, the bow instead emits a special projectile resembling a line of bees. On impact with an enemy or solid block, the projectile breaks apart, spawning 3 to 5 bees that quickly break formation and begin to home in on nearby enemies. Similar to Meteor Shot, the individual bees can each pierce one enemy or ricochet off a solid block once, but not both.
Its best Modifier is Unreal.
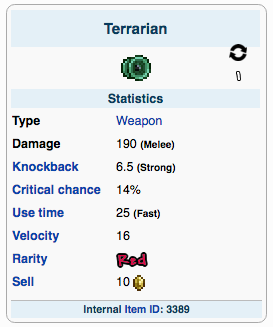
The Terrarian is a Hardmode, post-Moon Lord yoyo which has a 11.11% / 11% (1/9) chance to drop from the Moon Lord boss. Similarly to the Flairon, it fires projectiles at a rapid rate that will home in on nearby enemies. The Terrarian is currently the most powerful yoyo in the game.
The Terrarian has the capability to be the single highest DPS melee weapon in the game when using the Yoyo Bag or Yoyo Glove accessory, which send out a second Terrarian to circle the first. It is identical in every way, including the green projectiles that the Terrarian shoots. When using the yoyo bag, the counterweights seem to deal equal damage to the Terrarian itself, without the projectile effect. Projectiles are fired with a use time of 6. Pressing a Terrarian against a 1-block-wide surface or a door will cause the projectiles to go through it, damaging anything on the other side of it. Additionally, if you are standing exactly 30’ away from a wall or door, then attempt to throw the Terrarian past the wall or door, it will clip through solid blocks until it reaches the cursor or its maximum range.
Its best Modifier is Godly, or Ruthless in overall melee damage.
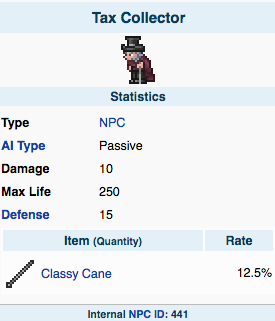
The Tax Collector is a Hardmode NPC that taxes other Housed NPCs to earn coins for players. The Tax Collector is obtained by traveling to the Underworld and throwing Purification Powder on a Tortured Soul (a rare Underworld enemy that appears similar to the Tax Collector). The enemy will transform into the Tax Collector, and will respawn thereafter so long as a vacant House is available.
When the Tax Collector is present, 50 will be earned per real-world minute (each in-game hour), for each NPC that has a House — including the Tax Collector himself. The Tax Collector stores these funds, up to 10 . Speaking to the Tax Collector will reveal the amount stored thus far, and offer the option to collect.
The Tax Collector attacks nearby enemies by hitting them with his cane.

The Target Dummy is a furniture item that serves as a test target for player attacks. It can be attacked repeatedly by players, displaying damage numbers just as enemies would, in order to test the effective damage output of a weapon as affected by any modifiers, current buffs, or equipped boost items. The Dummy is never destroyed by weapons, no matter how much damage it takes. It can be freed via any Pickaxe.
The Dummy will also display damage and visual effects caused by damage-producing debuffs, allowing players to test their damage output, frequency, and duration. Though it visually recoils when struck, the Target Dummy is unresponsive to knockback and will never move.

Stardust armor is a late-game Hardmode armor set that provides summon weapon boosts. It is currently the best summoner set available on the Desktop version. Crafting the full set requires a total of 36 Luminite Bars(144 Luminite) and 45 Stardust Fragments.
In total, Stardust armor pieces apply the following boosts:
Equipping a full set of Stardust armor causes a unique Stardust Guardian minion to follow the wearer. It is passive until activated by double-tapping the ▼ Down key, which places it at the nearest block
surface beneath the cursor position. Once placed, the Guardian becomes a sentry-style minion that can only chase enemies for very short distances before returning to its original position. It periodically triggers explosions that deal minor damage and cause enemies
in the blast radius to target the Guardian instead of the player. It is deactivated by holding the ▼ Down key, which causes it to return to following the player passively. The Stardust Guardian does not count against the player’s minion capacity.
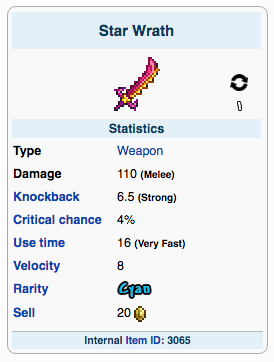
The Star Wrath is a Hardmode, post-Moon Lord sword that causes three pink projectiles to fall at the cursor whenever it is swung, each dealing double the sword’s damage. It can be considered a direct upgrade of the Starfury. It is dropped by the Moon Lord.
Its best Modifier is Legendary.
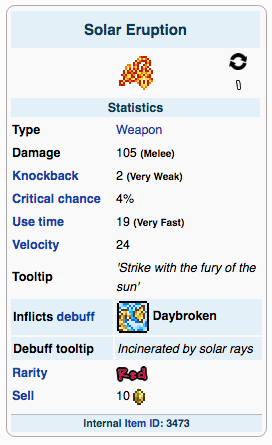
The Solar Eruption is a Hardmode auto-swing melee weapon that fires a long spear-like projection from the player’s position that quickly retracts. This weapon can travel through blocks. The tip follows a narrow arc in the general direction of the cursor before retracting. It inflicts the Daybroken debuff that deals damage in ticks of 25. You can craft this item after defeating the Solar Pillar.
Its best Modifier is Godly.
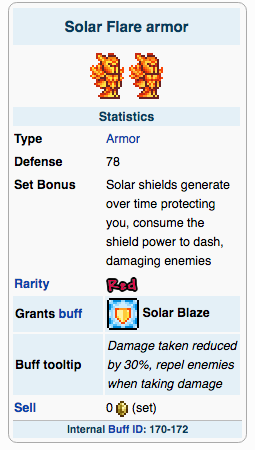
Solar Flare armor is a late-game Hardmode armor set that provides melee boosts. It is currently the best melee set available on the Desktop version. This armor set also provides the most base defense. Crafting this set requires a total of 36 Luminite Bars (144 Luminite) and 45 Solar Fragments.
In total, Solar Flare armor pieces apply the following boosts:
Equipping the full set additionally provides a special set bonus that builds the longer the player avoids damage, up to 3 “charges” (similar to Beetle armor). Each takes 5 seconds to build. The charges provide a flat damage reduction of 30% regardless of the number of charges. The number of charges built are indicated by a shield that appears after the first charge, with 2 and 3 spikes appearing on the shield on the second and third charges, respectively.
Taking damage causes one charge to deplete, and discharges fire explosions around the player that can damage enemies
in the vicinity. A charge can also be discharged manually by using the shield’s special “dash” attack, activated by double-tapping ◀ Left or ▶ Right. Dashing only consumes a charge if it strikes an enemy, and upon doing so causes a similar explosion.
Each piece equipped (even if hidden by vanity items) also causes the player to emit light, with a higher light level for each additional piece equipped. Additionally, equipping the full set displays an after-image motion effect, similar to Hallowed armor.